 USA
USA Canada
 Australia
 UK
UK Europe
 New Zealand
 Japan
Japan Singapore
 UAE
UAE India
IndiaClarity Pro 27인치 UHD 4K 모니터(65W PD 및 웹캠 포함)


Clarity Pro 27인치 UHD 4K 모니터(65W PD 및 웹캠 포함)
Clarity Pro 27인치 UHD 4K 모니터(65W PD 및 웹캠 포함)
수령 가능 여부를 로드할 수 없습니다.
사양
사양
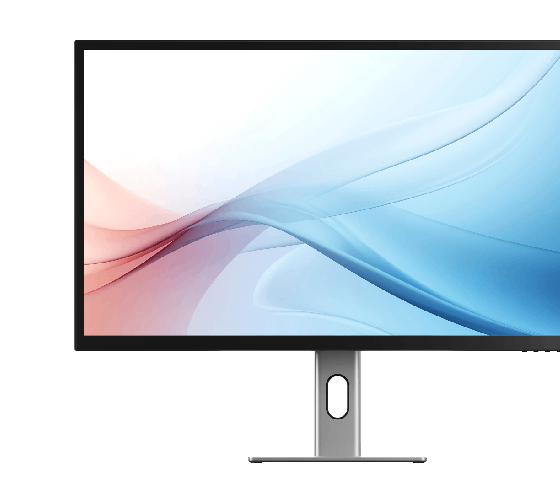
Clarity Pro는 최고를 요구하는 아티스트를 위한 타협 없는 디스플레이입니다.
당사의 27인치 스튜디오 품질 4K 디스플레이는 작업물을 완벽한 색상으로 표현하는 동시에 자동으로 8MP 웹캠을 철회하면 가장 좋은 면만 보여줄 수 있습니다.
Clarity의 USB 허브를 사용하면 단일 케이블로 워크스테이션에 연결하여 집중할 수 있습니다. 당신의 다음 걸작을 위해.

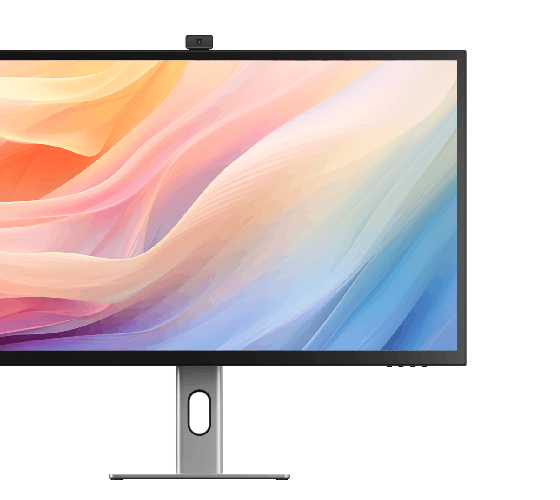
Clarity Pro의 스마트 웹캠은 영상 통화를 시작할 때까지 숨겨져 있습니다. 회의가 끝나면 자동으로 다시 아래로 내려와 개인 정보를 보호하고 깨끗한 800만 화소 사진을 위해 렌즈를 청소하세요.
Clarity Pro의 8MP 자동 수납 웹캠을 사용하면 멋진 모습을 연출할 수 있습니다. 당신이 원할 때.
웹캠의 각도는 후면 스크롤 휠을 통해 쉽게 조정할 수 있습니다. 당신은 항상 관심의 중심입니다. 단 몇 초 만에 최적의 각도로 전화를 걸 수 있습니다. Clarity Pro의 웹캠 조정 휠 – 귀하가 만드는 인상은 평생 지속될 것입니다. 노트북 웹캠의 어색한 각도에 작별을 고하고 최고의 모습을 만나보세요.


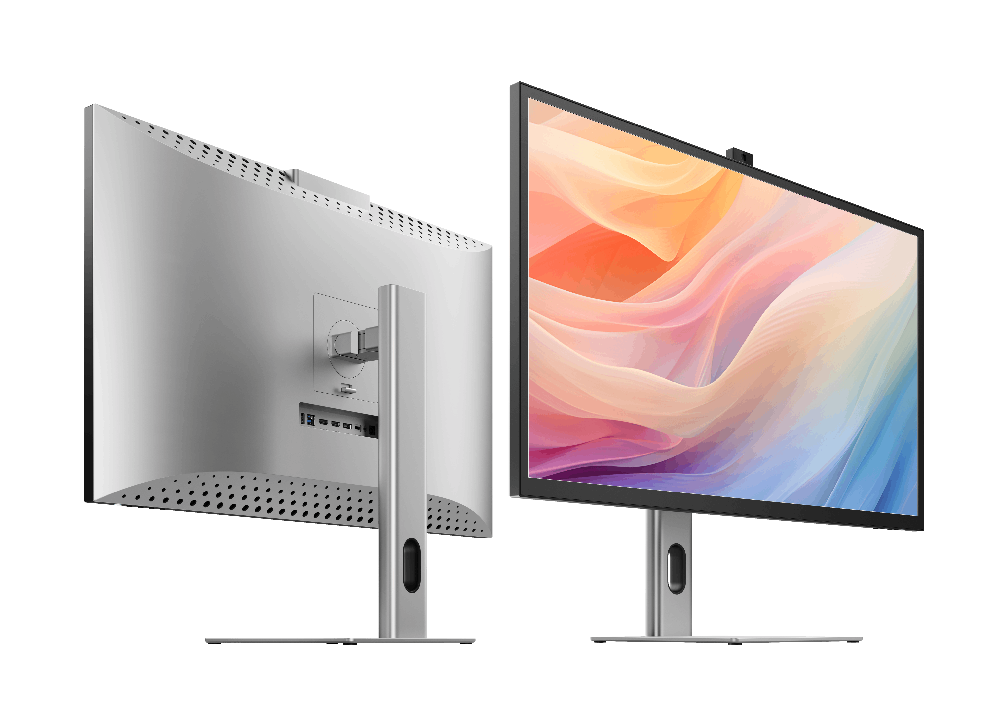
Clarity Pro의 10억 개 이상의 색상으로 이전과는 전혀 다른 방식으로 자신의 작품을 선보이세요. 숨막히는 27인치 4K 화면. 뛰어난 색재현율, 생생한 350cd/m2 밝기 및 선명한 HDR 대비는 창의적인 평판을 걸 수 있는 강력한 도구입니다.

- USB-A
- USB-B
- HDMI
- 디스플레이포트
- USB-C
- 오디오 출력

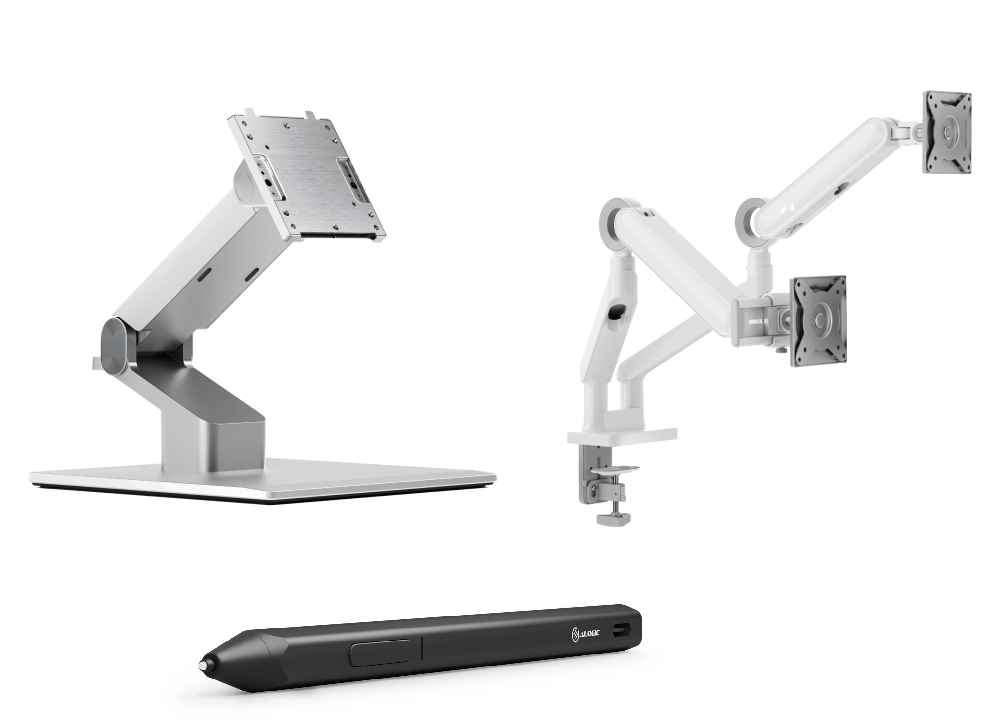
알루미늄 스탠드를 사용하면 Clarity Pro를 필요한 곳에 정확하게 배치할 수 있습니다. 그것, 인체공학적 편안함을 위해 디스플레이를 올리고, 피벗하고, 기울이고, 회전시킬 수 있습니다.


CLARITY에는 IPS(In-Plane Switching) 기능도 있습니다. IPS 디스플레이 패널 기술로 직장 팀은 최대 178도 각도에서 동일한 화면을 볼 수 있습니다[거의 완전히 옆으로], 이미지 품질 저하 없이.
Clarity의 스마트 회전 센서를 사용하면 가로에서 세로로 전환하는 데 몇 초 밖에 걸리지 않습니다. 수직 비디오 편집, 이메일 응답 또는 실시간 스트리밍 모니터링에 적합합니다. 당신이 완료되면 다시 전환하는 것도 쉽습니다.


General
The key difference between Clarity and Clarity Pro is that Pro has an 8MP webcam built into the monitor.
This smart webcam automatically slides up from the top when you start a video call, then slides back down when the call ends, keeping the lens clean and protecting your privacy.
Clarity Pro Touch has both the inbuilt webcam and a ‘one-glass solution’ 10-point touchscreen.
The formula is: Clarity (4K studio-quality monitor) + Pro (smart inbuilt webcam) + Touch (touchscreen).
There’s one other difference between Clarity and Pro/Pro Touch – they can’t charge your computer quite as fast, with only 65W passthrough charging compared to Clarity’s 90W. This is because 25W need to be reserved for the webcam.
However, it does need to plug into a USB-C port compatible with PD (Power Delivery) on your computer.
These can sometimes be identified by the presence of a battery icon next to the port on your laptop, but often you’ll need to check the user manual or manufacturer’s website to figure out which USB-C ports support PD.
All Thunderbolt 3 and 4 ports support PD.
1. Connected to Clarity via either:Clarity's USB-C port or Clarity's USB-B port
2. Clarity "Active USB" mode is set to the same USB port you've connected to your computer.
To change Clarity's "Active USB" mode, navigate to "USB Switch" in the "Other Settings" menu of Clarity's main menu.
For example: if your computer is connected to Clarity via USB-C, you would select "Type-C" in the "USB Switch" menu.
Remove the stand stem and base from their protective bags. Slot the stem onto the base and fasten via the thumb screw underneath the base.Align the two latches at the top of the stand stem with the notches in your Clarity display, with the display still in the foam housing. Gently push the rear plate into Clarity, it will click into place.Lift your monitor out of the foam, ensuring the display's weight remains supported.
Troubleshooting
To resolve the issue, restart Clarity by pressing the power button twice – it should recognize the connected device as part of its boot-up sequence.
If this issue persists, we recommend trying the following steps to isolate the issue:
- • Connect Clarity directly to your computer
- • Try connecting with a different cable or port. ie. Use DisplayPort instead of USB-C
- • Update your computer’s operating system.
If your problem reoccurs and these steps do not help resolve it, please contact ALOGIC support (support@alogic.co).
1. You're connecting to Clarity with USB-C. HDR is only available when connected via HDMI or DisplayPort.
2. You're using the monitor in SRGB, Uniformity or Adobe RGB mode. Both of these video presets are designed to provide perfect colour reproduction over a limited colour gamut. HDR produces colours outside these limited gamuts and thus can't be used at the same time. You can re-enable HDR by switching back to "Standard" mode in the Professional Settings menu.
Ensure you connect the charging cable to a port on the laptop which supports charging.
Webcam
As a result, the webcam will work with any program attempting to access a webcam.
This includes videoconfering programs such as:
Microsoft Teams
Skype
Google Meet
Slack
Cisco Webex
Zoom
GoTo Meeting
As well as livestreaming programs like:
Open Broadcaster Software (OBS)
Xplit
Streamlabs
Open a program which requires the webcam – on Windows 11 we recommend the “Camera” app or “Photo Booth” on macOS.
Open this application and switch the active camera to Clarity Pro’s – this can be done via the “Camera” menu in Photo Booth or hitting the “Switch Camera” button in Camera – see below.
Once you’ve activated Clarity Pro’s webcam, it will slide up out of the monitor. You can now adjust its vertical framing using the scroll wheel on the rear of the camera.
Then you need to ensure that's the active USB port is set to the same - either USB-C or USB-B. This can be set via the "USB-Switch" setting of the monitor's "USB Options" menu.
If these two are correct and your can't see your Clarity Pro's webcam listed in your system's available webcams (listed as either 27C4KPDW or 27C4KPDWT), restart the monitor and your computer.
If the webcam still doesn't appear, please contact ALOGIC support: support@alogic.co and we'll help you resolve your issue.
Video
Clarity's maximum refresh rate is 60Hz.
Clarity can be used at lower resolutions and refresh rates, although support depends on the host device (computer) the monitor is connected to.
To enable HDR, open Clarity's Home Menu and navigate to Picture Settings, then HDR.
Clarity has three HDR modes you can choose from:
1. HDR
2. STANDARD
3. HDR MOVIE HDR DESIGN
We reccomend HDR Standard for regular use or the viewing of images, HDR Movie for enjoying HDR-compatible movies and video games, and HDR Design for work where colour accuracy is important.
Colour Saturation (NTSC): 130%
Colour Saturation (DCI-P3): 97%
Colour Saturation (SRGB): 100%
Colour Saturation (Adobe RGB): 99%
Average ΔE: < 1